A Grey Filled Wall On Revit Floor Plan

Solved How To Change Wall Color In Plan View Autodesk Community Revit Products

Wall Solid Fill With Revit Youtube

Solved How To Change Coarse Fill Color Autodesk Community Revit Products
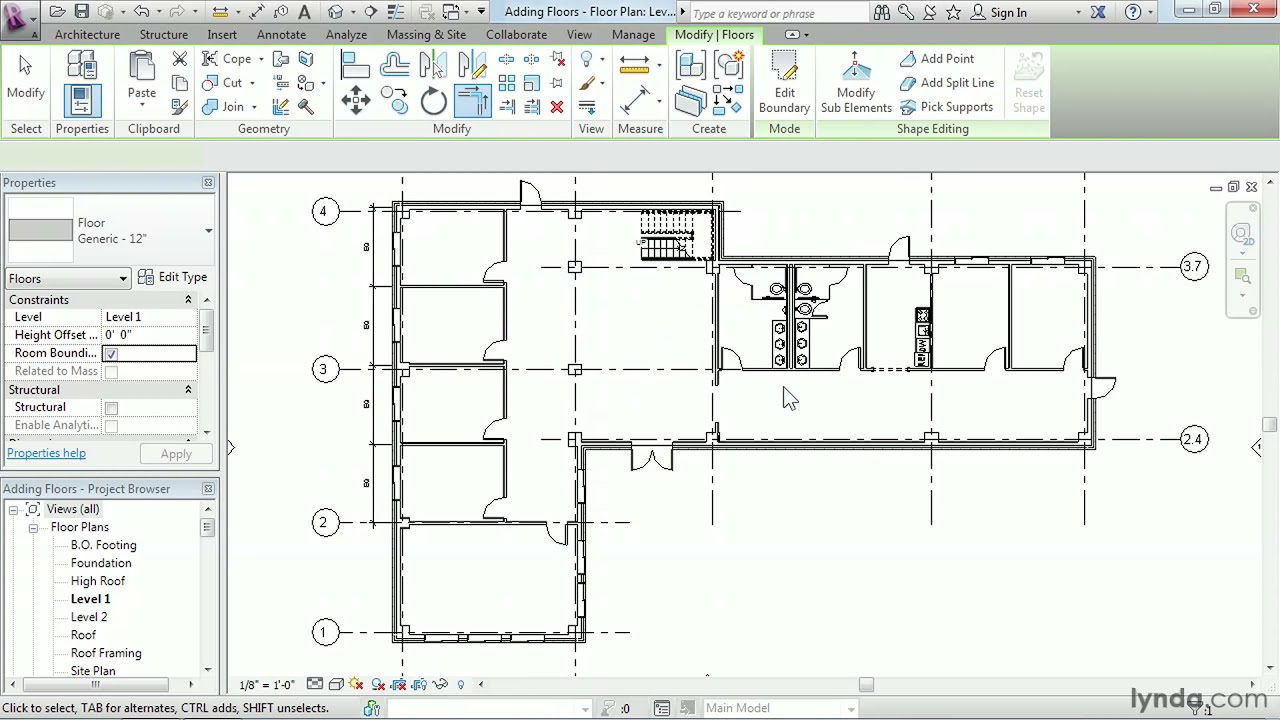
Revit Architecture How To Work With Floors Lynda Com Tutorial Youtube

Pin By Joelle Powers On Autodesk Revit Tips Revit Tutorial Architecture Student Tutorial

Revit Tutorials Color Scheme Youtube

Click annotate tabcolor fill panel legend.
A grey filled wall on revit floor plan.

Revit Wall Wrap Closure A How To Guide Youtube
Therevitkid Com Tutorials Tips Products And Information On All Things Revit Bim Bim After Dark Ultimate Revit Architecture Bim Architectural Thesis

Tileable Grey Brick Wall Texture Maps Texturise Free Seamless Textures With Maps Brick Texture Textured Carpet Texture

Collection Uptown Colour Grey Floor Tiles Luxury Restaurant Interior Restaurant Flooring Restaurant Interior Design
Source : pinterest.com
